HOW TO: Shoot wet weddings with the minimum of flash
Don’t let rain spoil your wedding photography! You don’t need to resort to using your flash for everything – just plan ahead and work harder, so you only have to use flash for 10% of the pictures. Here’s 10 tips to help you.
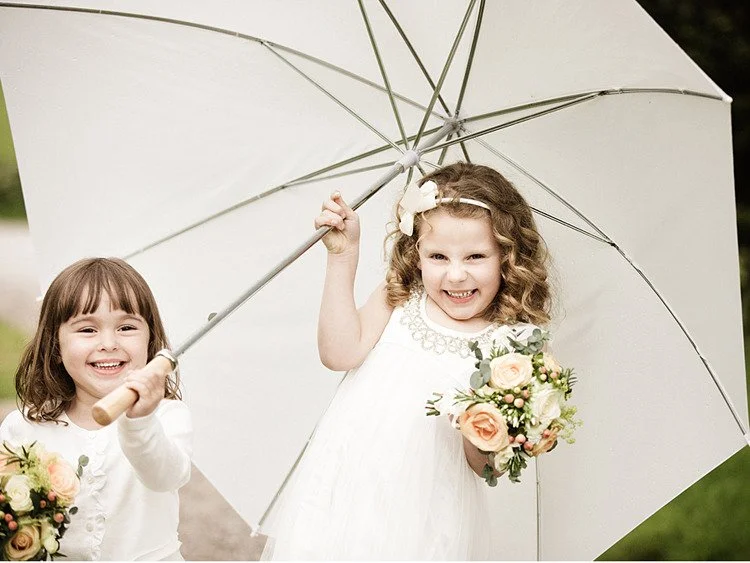
1. Take white umbrellas with you – and swop them for their dark stripy ones which usually have with BMW written across them! White ones will look great in the pictures and create soft light around their faces.
2. If the bride is getting ready in a dark room, ask her if she can put her dress on in a lighter room. You don’t have to shoot pictures of her where she is standing – don’t be afraid to ask her to put her dress on in an area where she is facing the light – it’s best if you have your back to the window and the window light is falling on her. Remember, she wants her photos to be flattering – she will not mind if you ask her to move!
3. When the bride is getting ready at a hotel, there is often a choice of room – discuss this with her before the day, so she gets dressed in the room with the best light.
4. Prior to the day, check out the location and decide where you will shoot outside if it is raining – don’t rely on praying for a sunny day – have a back up plan. The hotel doorway usually works fine, if there is no conservatory or roofed area. Discuss this with the bride and groom before the day, so they know why you are doing it. Tell them their pictures will be much more flattering in natural light – if you wait until the day to tell them, it will be harder to persuade them to go outside when it’s raining.
5. Ask the ushers for help to get the people to the covered area to do the group shots.
6. Take an assistant with you – there are plenty of students at photography colleges who would love to assist on a wedding – often for free. It makes a huge difference to have someone on hand to hold an umbrella, find an usher, help you organise people, or just get you a drink!

7. Make a list of all the required groups with the bride and groom, and simplify it as much as you can. Explain to the couple that it will take ages if you shoot loads of groups, and work out with them who the important people are, so no one has to spend ages standing around. Take several copies of the list so you can give them to ushers to help you find the people. If you’re organised, the groups should take no longer than 10-15 minutes max.
8. If the wedding ceremony and reception are indoors at a hotel then it’s hard to get people to go outside when it’s raining, but if you’ve planned it with the couple, and they understand how much better the shots will be, they will do it. Just make it easy for them – don’t take forever, plan where you are going to shoot before the day. Take your assistant and your umbrellas and have fun!
9. Make sure you have a hooded rain jacket and a lens shade – as you will be spending a lot of time getting wet, while the couple stay dry! A big jacket is useful to keep hiding your camera under in between shots to avoid rain on the lens. Use a lens shade and keep the lens pointing down – it’s hard to get rid of raindrops on a lens quickly.
10. You may have to shoot candid pictures of guests inside with a flash, because if it’s quite dark, they will blur – keep the shots very closely cropped to avoid nasty backgrounds, or use F4 or F5.6 to keep the background out of focus. Whenever you can, try and persuade the important people to come outside to the front doorway, as they will prefer themselves in natural light.
And remember – wet weddings ARE hard work. Accept that, and do everything you can to make it easier for yourself to get great shots, by being prepared. Resorting to taking everything with a flash will not produce the best results. Shoot in natural light, but on a dark day take care to make sure your shutter speed is high enough – you don’t want a load of blurred pictures. Hold your camera steady, and use a higher ISO if you need to. And for the moments when flash is essential, use these simple settings below and check out: How can I feel more confident using flash?
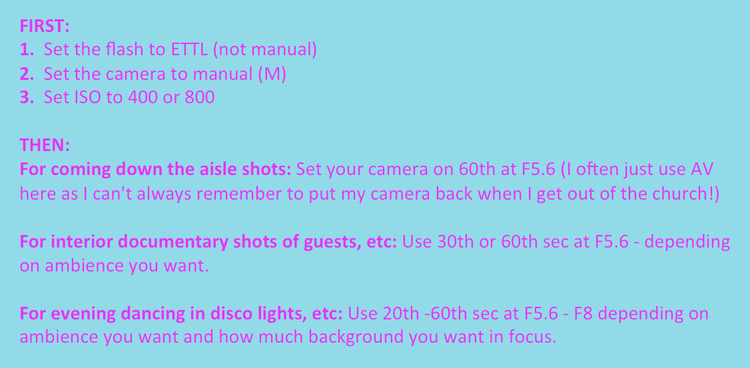
Drag these settings onto your desk top, print and keep it in your camera bag!
Remember – prepare, prepare, prepare!
